
By Amy Spitzfaden–Both
Can you schedule a text message on iPhone? You can if you know how!
Have you ever wanted to schedule a text message on your iPhone? Maybe you want to send weekly reminders of chores to your family or automatically let your spouse know when you’re heading home. Scheduling a text message makes sure your text will get to your desired person at the desired time. Let’s learn how to schedule a text on an iPhone.
How to Schedule a Text on iPhone
Learning to schedule a message on your iPhone is super handy if you want to send reminders on specific days, or even when you’re performing certain actions, like leaving the house, or going to sleep. In order to schedule a text message, you’ll have to set up a Shortcut to do it, which can be a little intimidating, but it turns out it’s pretty easy! To learn more about iPhone shortcuts, check out our Tip of the Day newsletter. Now, here’s how to schedule a text on your iPhone:
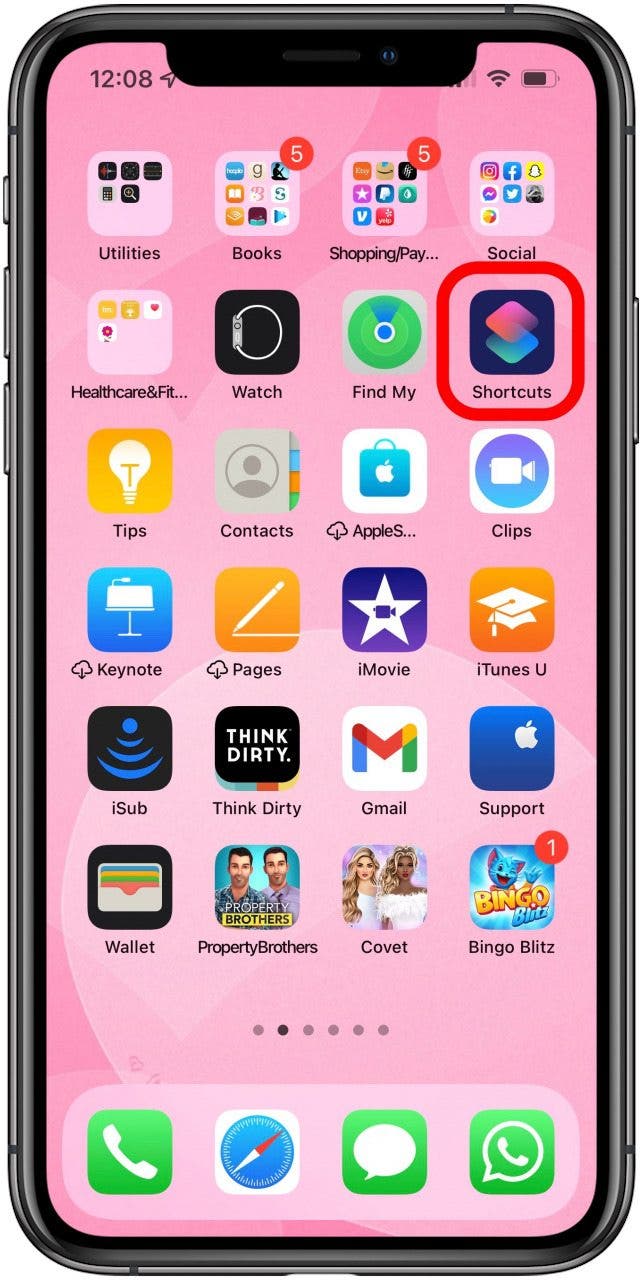
- Open your Shortcuts app.
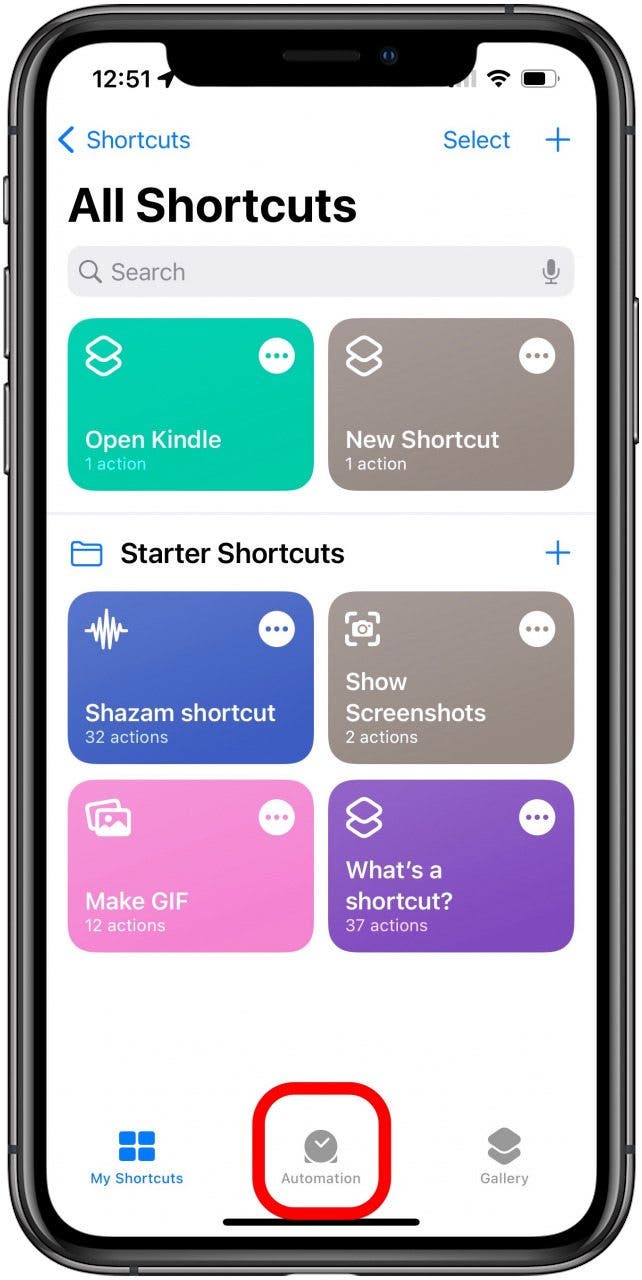
- At the bottom of the screen, tap Automation.
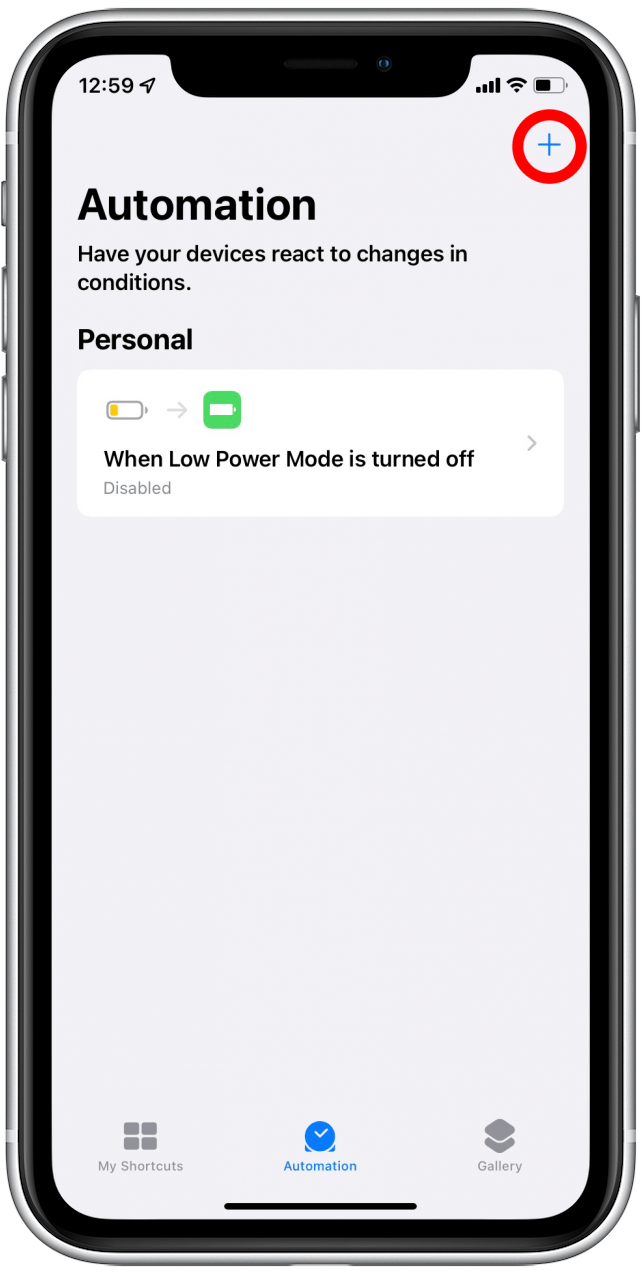
- Tap the Add icon. If you don’t see the Add icon or have any existing automations, skip to step 4.
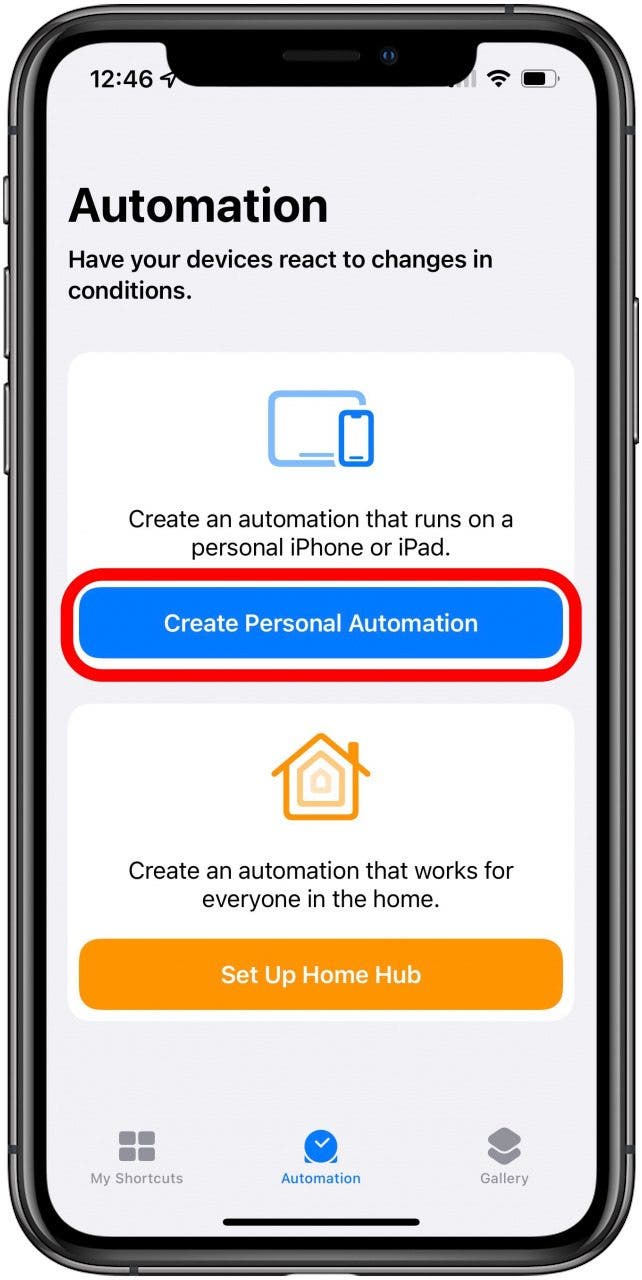
- Tap Create Personal Automation.
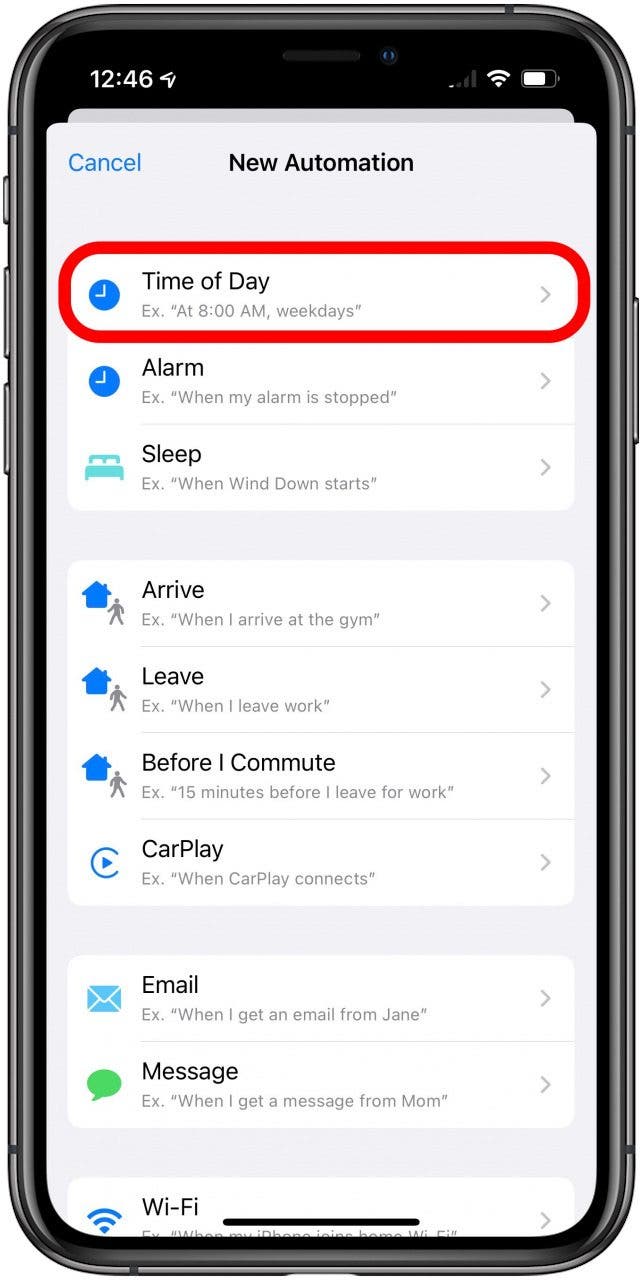
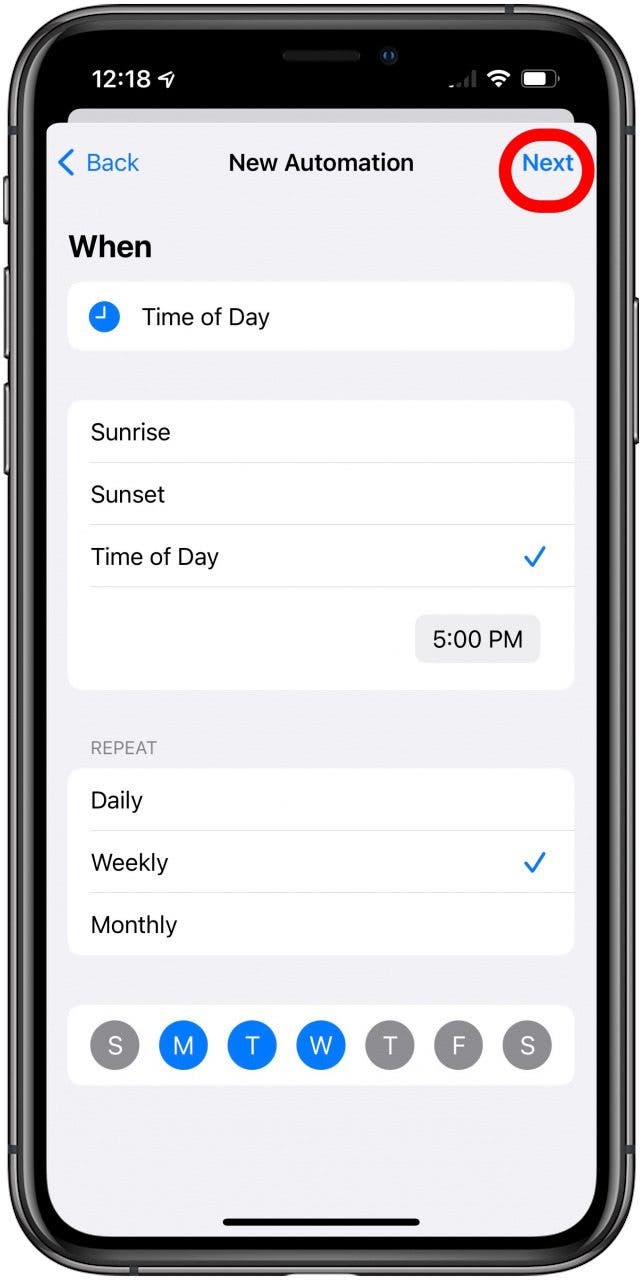
- In the New Automation menu, choose your text message’s prompt. In this example, I will use Time of Day, but there are lots of options to choose from.
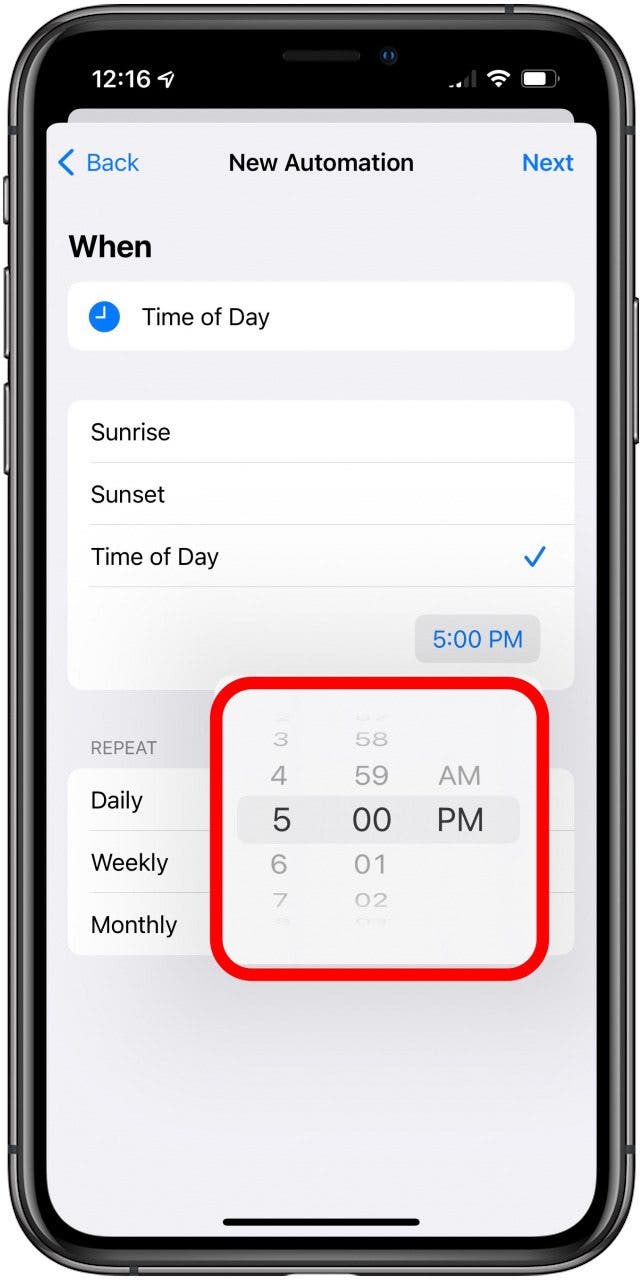
- If using Time of Day, choose from Sunrise, Sunset, or Time of Day to set a specific time to send the text message.
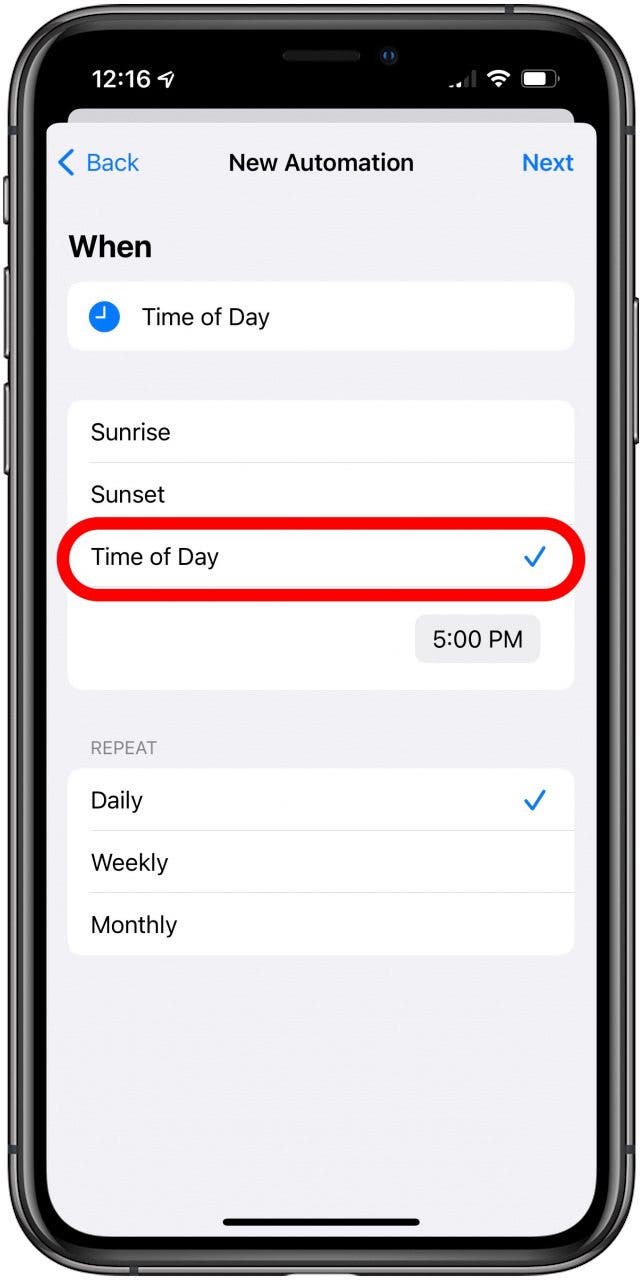
- Under Repeat, select Daily, Weekly, or Monthly.
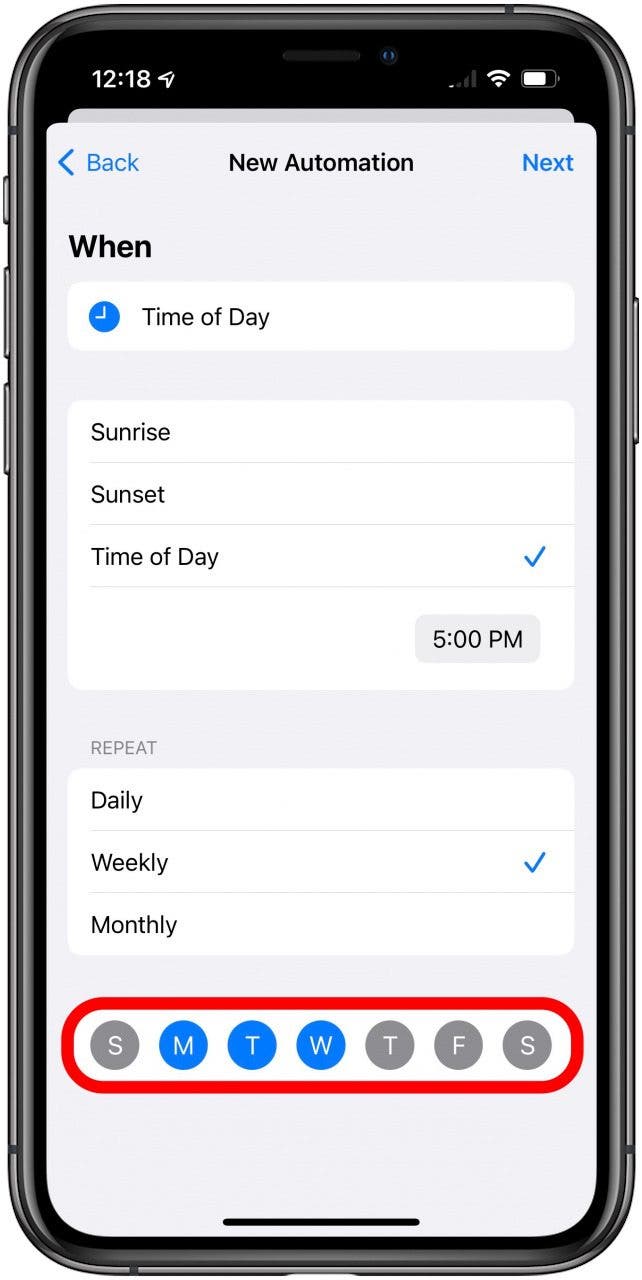
- If Weekly or Monthly, select the day(s) of the week or month. For Weekly, all the days of the week will be automatically selected, so tap any day to deselect.
- Tap Next.
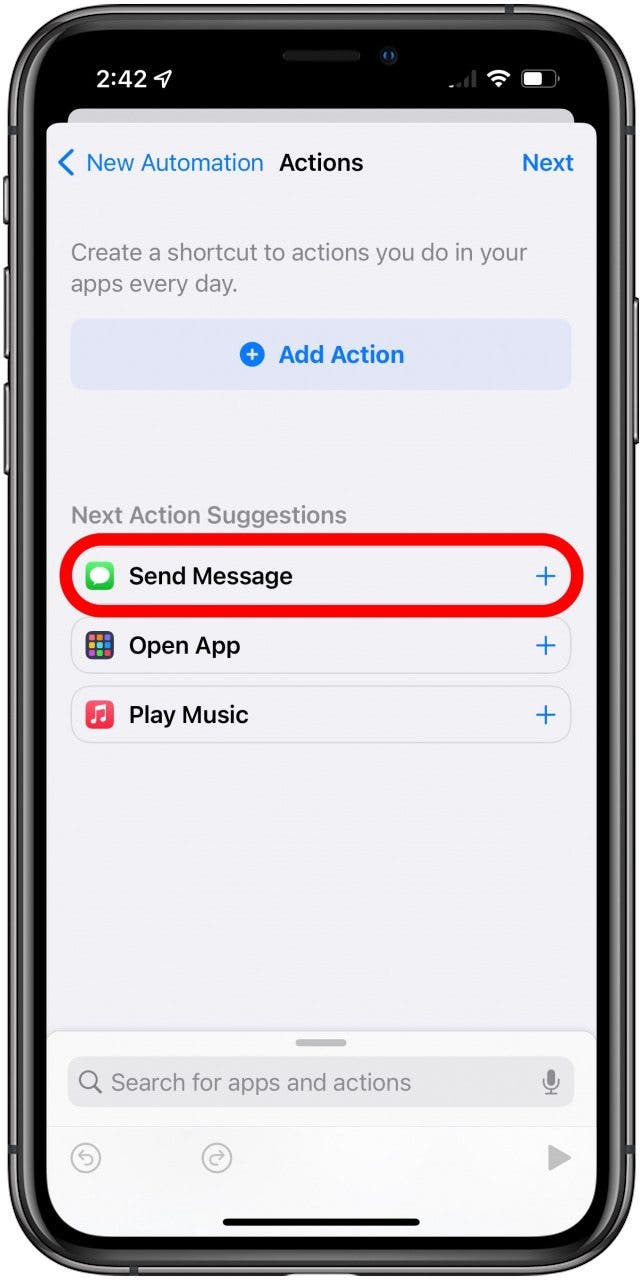
- Tap Send Message.
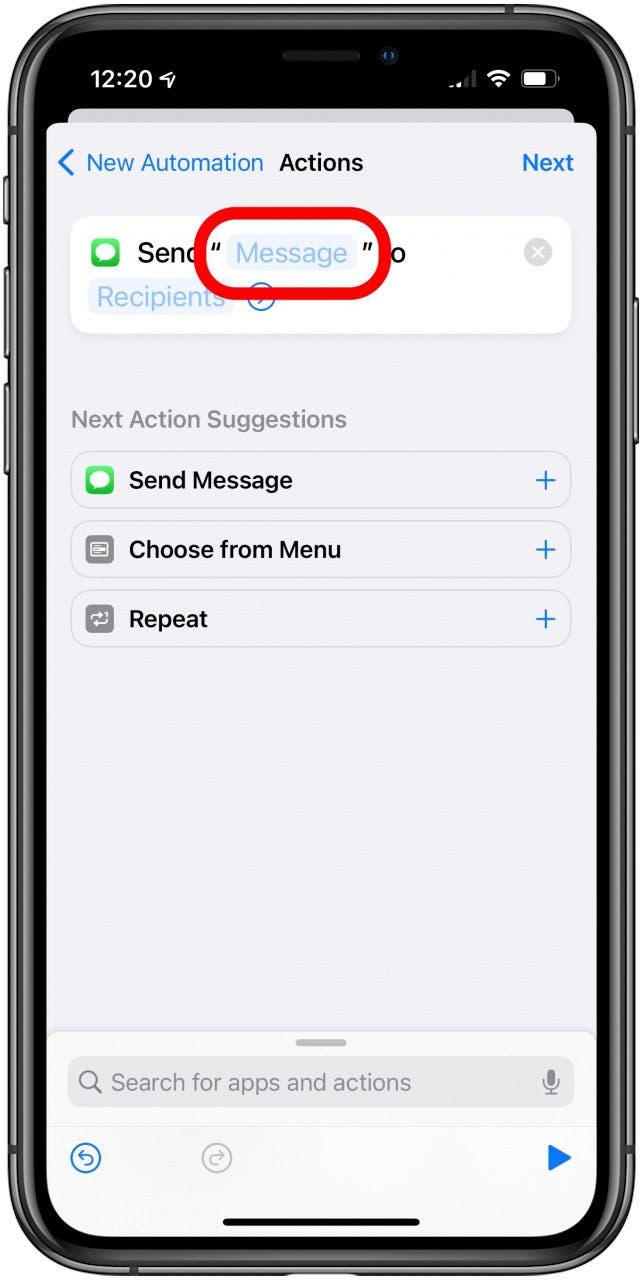
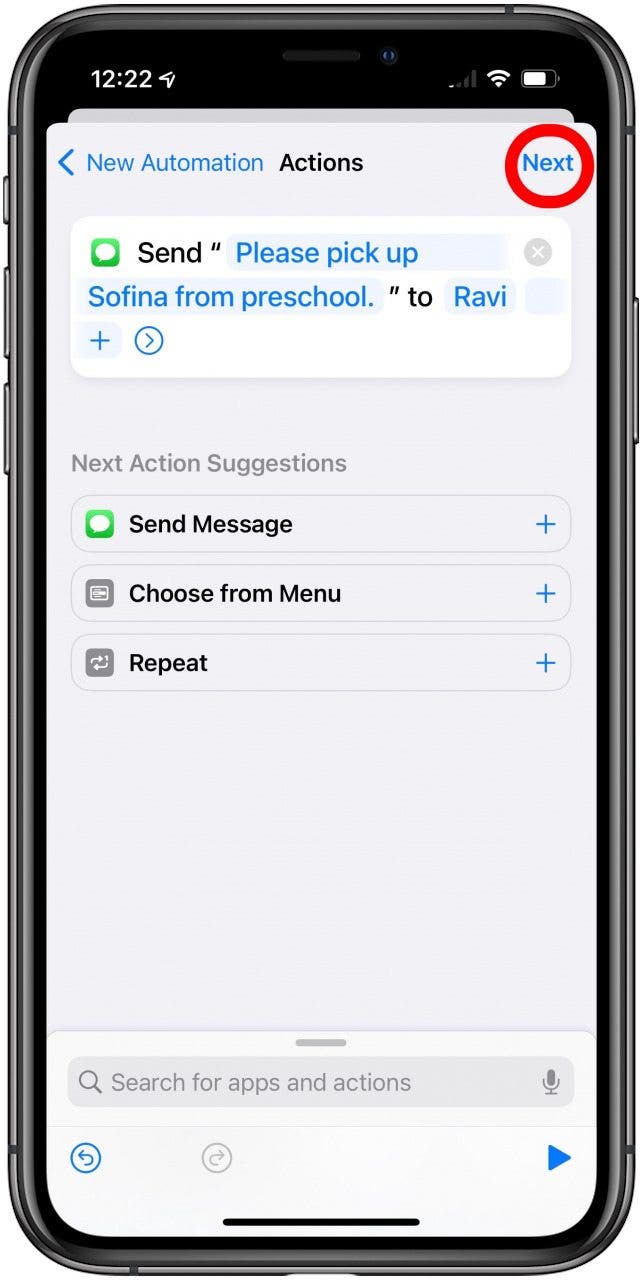
- In the box that says Send “Message” to Recipient, tap “Message” to compose the automated text.
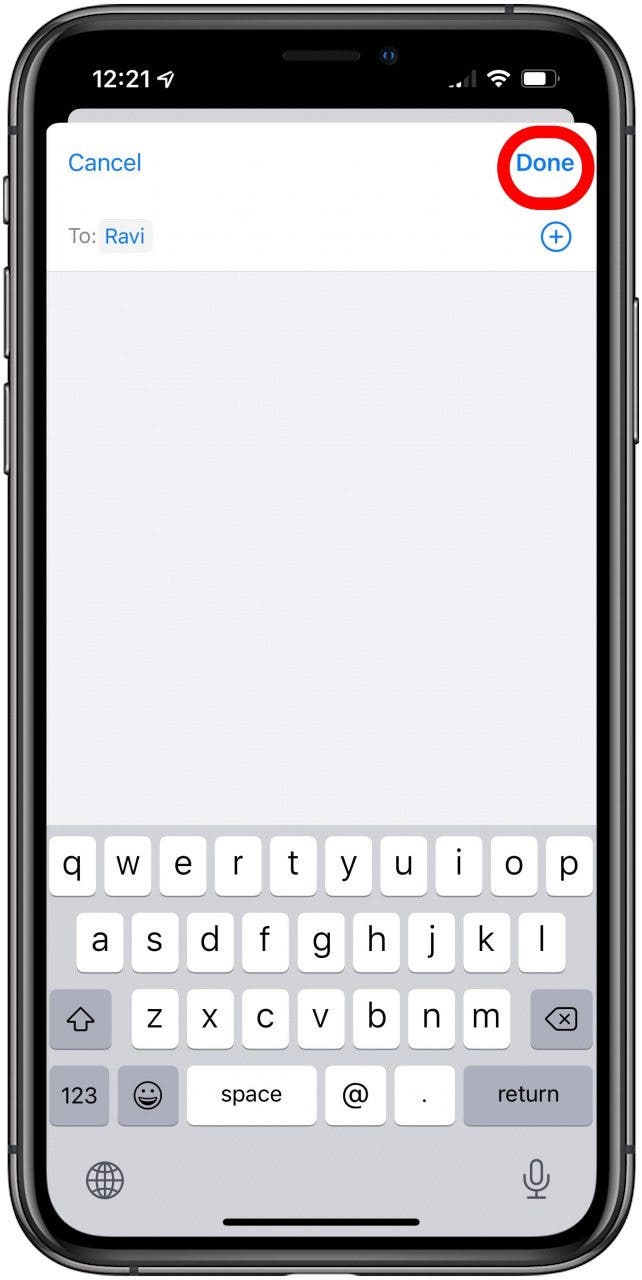
- Tap Recipients to choose your recipients.
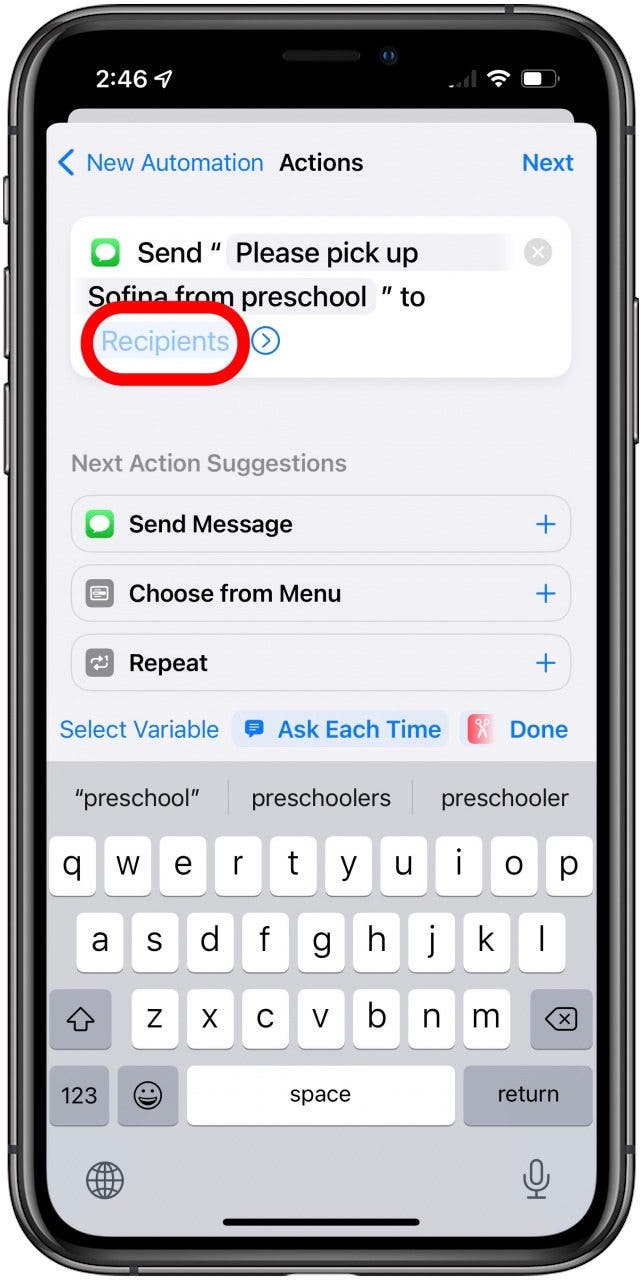
- Once you’ve chosen your recipients, tap Done.
- Tap Next.
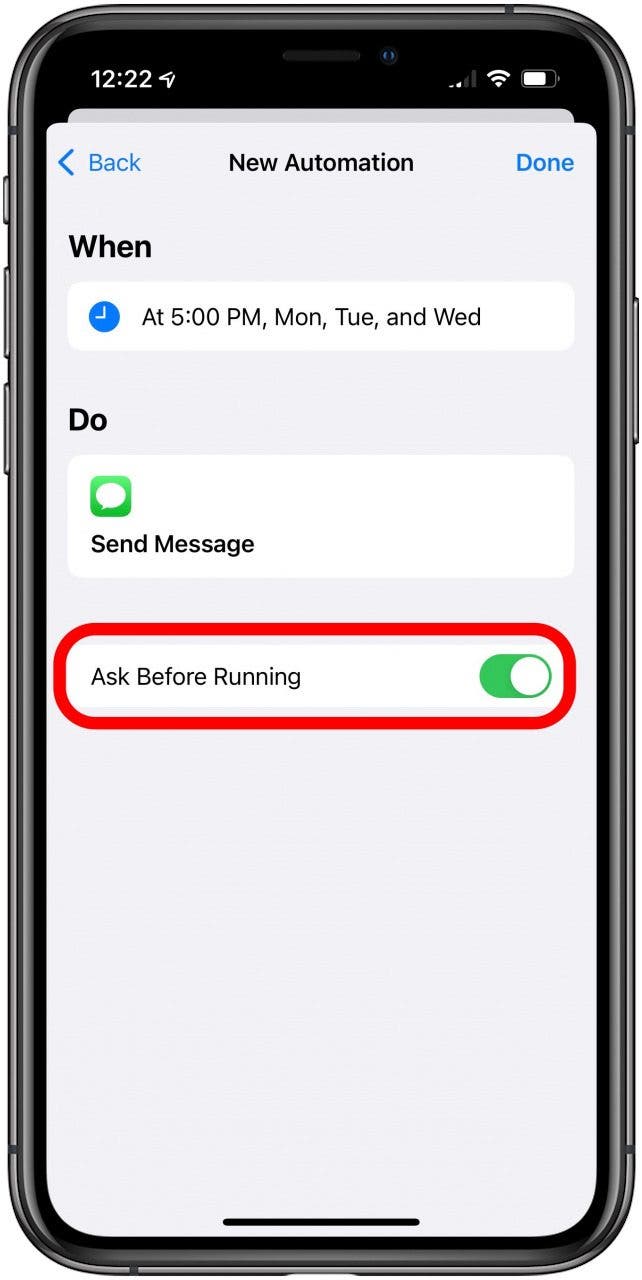
- Review your automation and toggle Ask Before Running on or off, depending on whether you want your iPhone to ask you before running the automation.
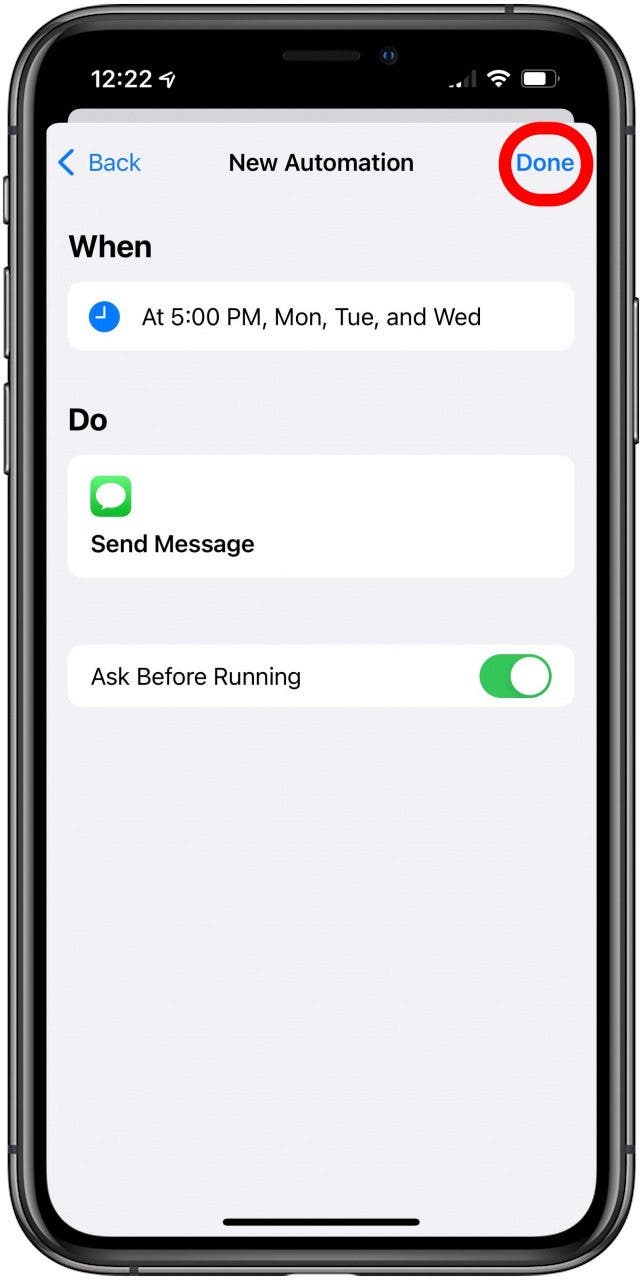
- Tap Done.
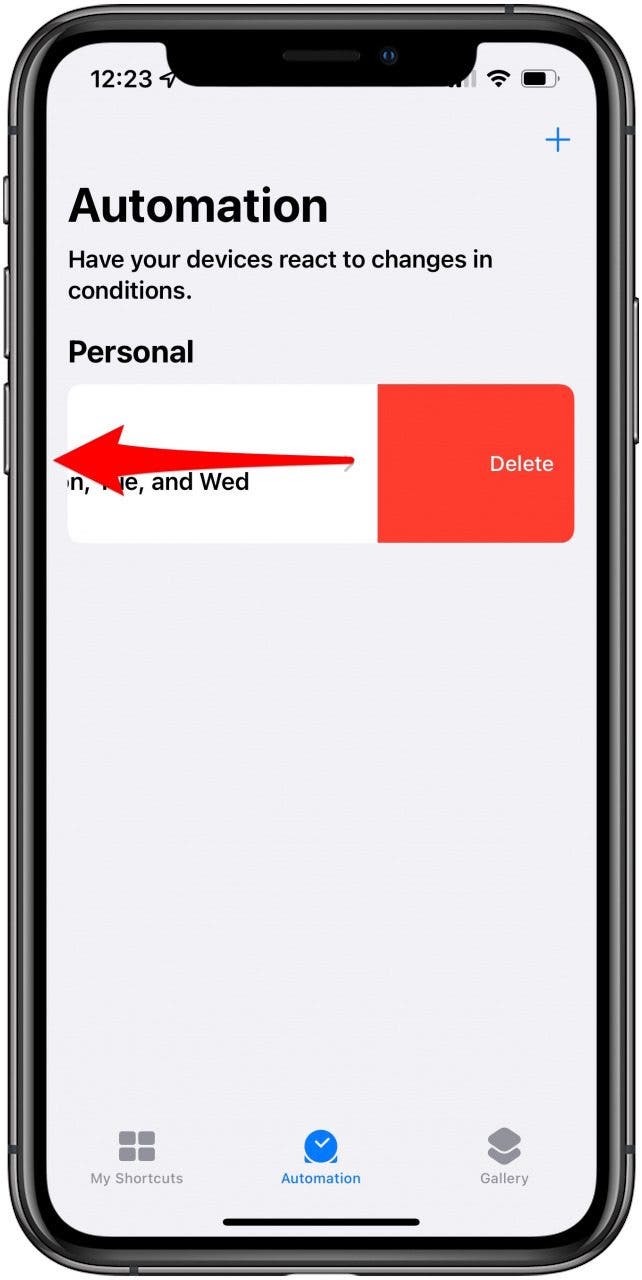
- You can now find this in your Automations tab.

- To delete the automation, just swipe left and tap Delete.
Now your text messages should send right on schedule (unless you deleted the automation)!


